
Working with Accounts
Creating New Accounts
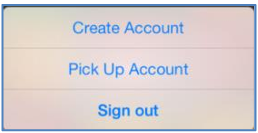
To create new accounts, select Create Account or Create New Account in the message prompt.
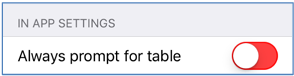
If no active accounts exist on the system and the Always Prompt for Table setting is enabled, you are prompted to create a new account or pick up an existing account when signing in.
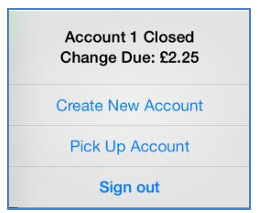
After paying off an account, you are prompted to create a new account or pick up an existing account.
The order display screen will be displayed automatically if an active account exists on the system.
After creating a new account, if Always Prompt for Table is enabled in the Settings menu, the Select an Available Table window is displayed.
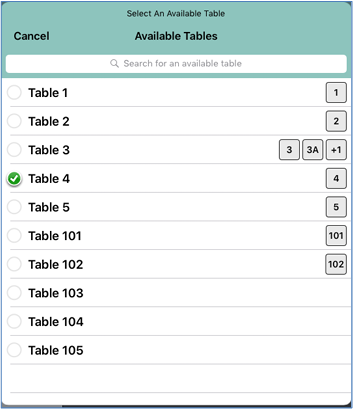
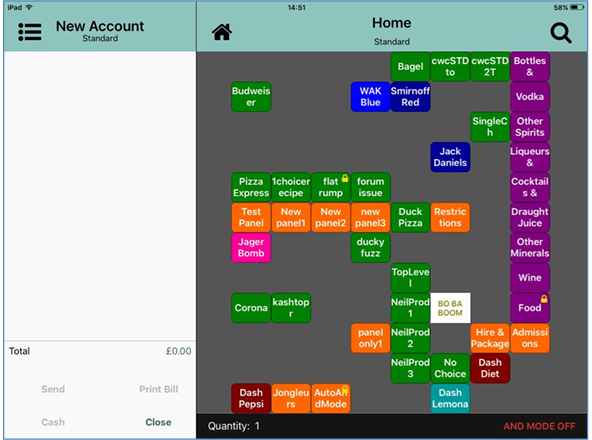
After a table is selected, the new table account is created and the Home panel is displayed, ready for products to be added to the basket.
Assigning a table to an account
To assign a table to an account or change the assigned table:
- Select the table number in the header.
- Select Assign Table Number.
- Select the required table number.
- The account is now assigned to the selected table.
If you have rung up a product that requires a table to be assigned, you will be prompted to select the table when the account is saved.
Editing Customer Names
To edit a customer name:
- Select the table number in the header.
- Select Edit Customer Name.
- Enter the customer name and press Set Name.
- The account name is now updated accordingly.
Editing the Cover Count
To edit a cover count (if enabled):
- Select the table number in the header.
- Select Edit Cover Count.
- Enter the new cover count and press Set Cover Count.
- The cover count is now updated accordingly.
Assigning loyalty account numbers
To assign a Loyalty Account Number:
- Select the Loyalty/Vouchering logo in the Table header.

- Select Loyalty
- If you have a loyalty barcode, hold it in front of the camera or select Type Code and enter the loyalty account number.
- The entry box surround will turn green if the loyalty number entered is valid. If the loyalty number is invalid, the surround will turn red.
- Select Enter to assign the loyalty account to the active account.
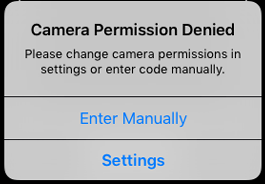
- If your camera is disabled you will be prompted to enter a loyalty code manually:
- Enter the code manually or go into the settings on your device to enable your camera.
- If you have guided access set up on site, you cannot enable the camera.
- If configured, the Vouchering icon is hidden as soon as the user choses the Print Bill option so that no further changes to the account are possible
- If loyalty is not enabled in the Config application, iServe will show the Vouchering tab by default.
- Select Go Back to return to the order display.
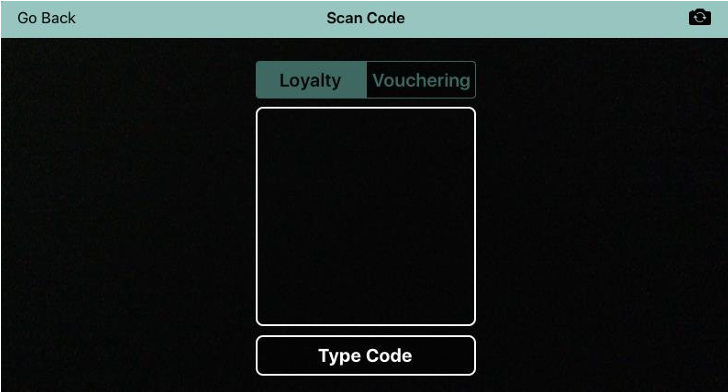

The Loyalty / Vouchering toggle allows you to choose whether you are scanning a loyalty code or a voucher code. The toggle is sticky, so after you have chosen one, it will default to that option next time you select the scan icon.
When a valid barcode passes in front of the iPad camera, iServe reads it automatically.
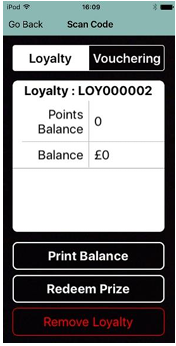
If you scan a valid loyalty card that has not been registered, no error message is displayed, but the Loyalty information screen will display a zero point and zero value balance
The customer will be able to earn points on an unregistered card, but cannot redeem them until they have registered the card
If you scan an invalid loyalty card, the following error message is displayed:
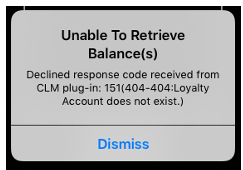
When you dismiss the error, you must also select Remove Loyalty before you can scan or enter another loyalty code.
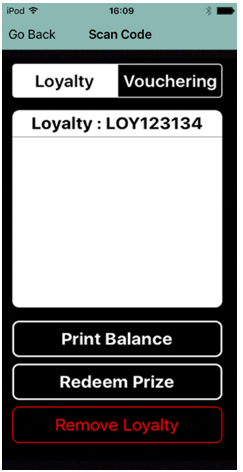
Print Loyalty balance
To print a loyalty balance on the bar printer:
- Select the Loyalty/Vouchering logo in the Table header.
- Enter your loyalty card number or scan your loyalty card.
- Select Print Balance
- Select Cancel to return to the order display.
Redeem Loyalty Prize
To redeem a loyalty prize:
- Select the Loyalty/Vouchering logo in the Table header.
- Enter your loyalty card number or scan your loyalty card.
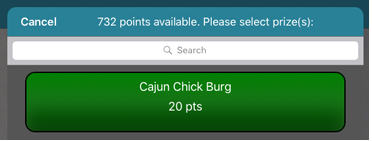
- Select Redeem Prize
- A list of redeemable prizes is displayed
- Select the required prize.
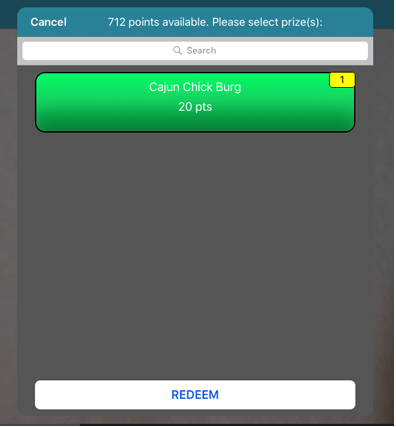
- The system deducts the appropriate number of loyalty points and returns you to the Select Redeem Prize window where the number of selected prizes is displayed in a yellow box for your information.
- Select Redeem to commit the prize redemption and return to the order display. The prize will be added to the order display with a zero price as shown:
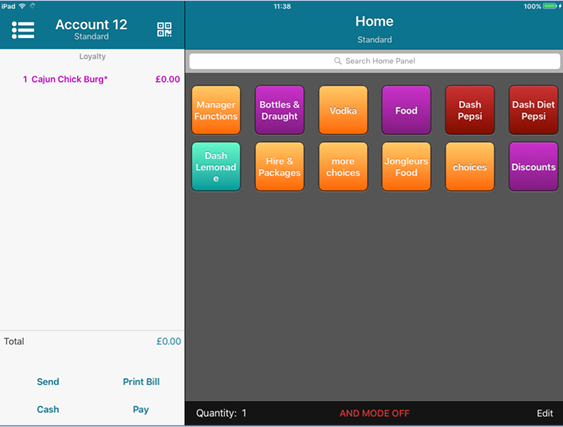
- If you redeem a prize by mistake, you cannot reverse it in iServe. To reverse an incorrectly redeemed prize, you must log into a PoS terminal.
- If you scan an invalid barcode you must unassign it by selecting Remove Loyalty before you can scan another barcode.
- If iServe shuts down part way through redeeming a prize (whether that is due to your iPad running out of battery, a network connectivity issue or human error) iServe will re-load the transaction at the exact point before the issue occurred when you return to iServe.
Edit Order Destination
To edit the order destination:
- Select the table number in the header.
- Select Edit Order Destination.
- Select the required order destination.
- The table/account is transferred to the new order destination and you are returned to the order display.

Service Charge Selection
To change the service charges that are applied (if enabled):
- Select the table number in the header.
- Select Service Charge Selection.
- Service charges marked with a D are the default service charges. Use the sliders to enable or disable service charges as appropriate.
- Select Confirm to save your changes.
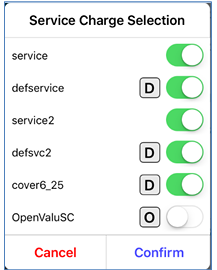
Users can also enter an open value service charge to accommodate customers who do not want to pay the standard rate.
To enter an open value service charge:
- Select the table number in the header.
- Select Service Charge Selection.
- Enable the Open Value service charge.
- The service charge marked with an O is the open value service charge. All other service charges are disabled.
- Select Confirm to save your changes.
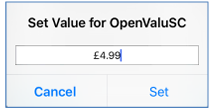
- Enter a value for the open value service charge and select Set.
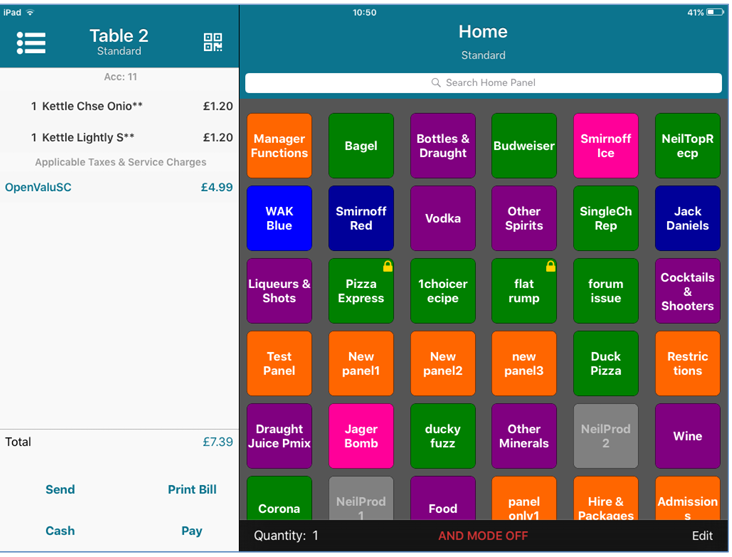
- The service charge is applied to the account as shown on the order display.

This process changes if Card Validation has been enabled. For more information, please refer to Card Validation below.
Card Validation
If configured in Aztec, iServe can process card validation transactions when used in conjunction with a minimum of Aztec 3.8.2, ZCF 4.17 and Ocius installed on site.
Card validation can be enabled for bar mode and table mode (with or without per-seat ordering).
When an item has been added to a table and all the qualifying conditions are met, iServe will prompt you to validate the card when you attempt to send/save an account.
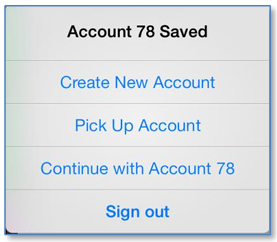
This will only occur the first time an account is saved. All subsequent times you save an account will take you to the Account Saved window as shown below.
A window containing all available PEDs is displayed:
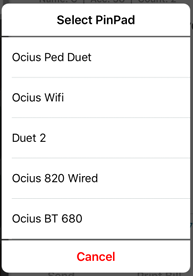
Select the required PED and follow the instructions on that PED.
Once validated, iServe will save the account and prompt you to create a new account, pick up an existing account, continue with the saved account or sign out.
If using a lower version of Aztec and/or ZCF, the account will be saved but users will not be prompted to validate the card.
If using Aztec 3.8.2 or higher and Ocius is not installed on site, you cannot validate a card on iServe. When attempting to send/save an account iServe prompts you to validate the card on the PoS.
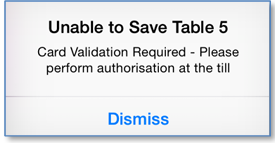
You must complete the Card Validation procedure on the POS terminal to proceed.
Once a card has been validated, if the customer walks out without paying, payment can be taken on the POS using the retained card details. Walkout /clawback transactions cannot be performed on iServe.
Picking up tables and accounts
To pick up a table or an account:
- Select Pick up Table / Account from the Navigator screen or from the screen prompt. The My Tables / Acc window is displayed.
- Select the required table or account from the list.
- If you can’t locate the required account, use the filter options described below to narrow down the search.
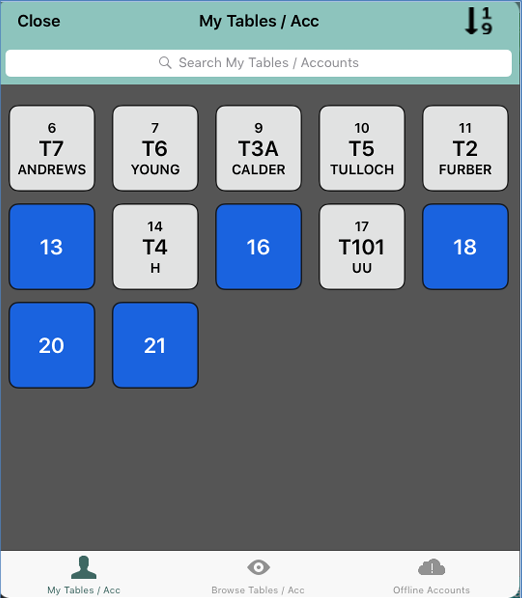

Table / Account Search
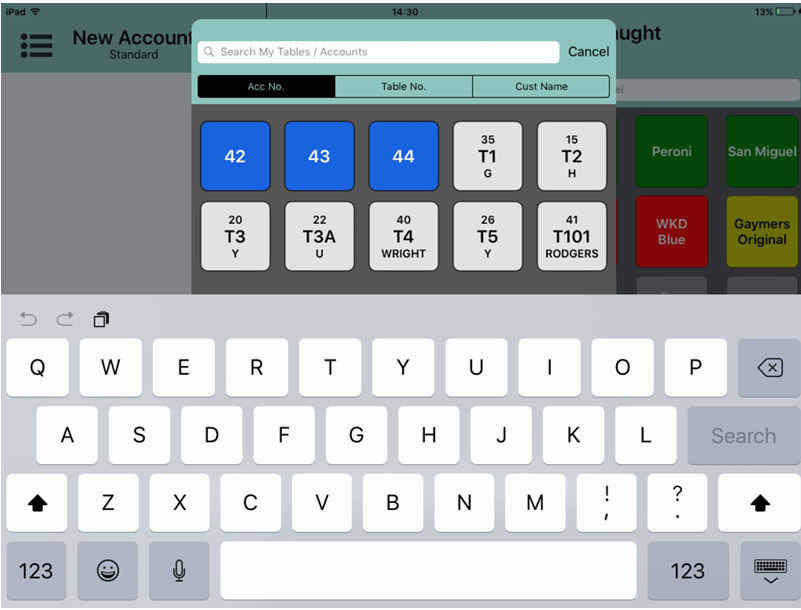
Accounts can be filtered by account number, table number or customer name. You can also search within lists of your tables/accounts, all tables/accounts and offline accounts.
To search for an account:
- Select whether you want to search in your tables/accounts, all tables/accounts or offline accounts.
- Tap the search box.
- Select the field by which you want to search:
- Account number (not available for offline accounts)
-
Table number
-
Customer name
- Enter your search criteria.
- Select the required account from the list.
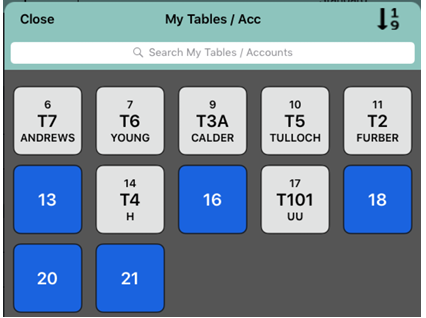
The browse accounts screen separates those accounts without table numbers (blue) and those with (white).
Accounts that are assigned to a table number are shown as a T: ## on a white icon.
Accounts not assigned to a table are shown with the account number in the centre of a blue icon.
The customer name (if defined) is displayed at the bottom of the icon.
An indicator of offline accounts will be available here to be picked up as and when you are back in Wi-Fi range.
iServe cannot send or pay off accounts while in offline mode, it will need to return to an online state.
Table /Account Sorting
The Table Sort button allows you to change the order that tables/accounts are displayed on screen.
Note that Table Sorting is not available in Table Workflow mode.
To sort tables and accounts:
- Select the Sort button in the top right of the screen.

- The Choose Sorting Style check-boxes are displayed. Tables/Accounts selected by default.
- Select the required check-box to change the sorting style as below.
Sort by Account Number
- Sorting by Account Number puts tables and accounts in descending order.
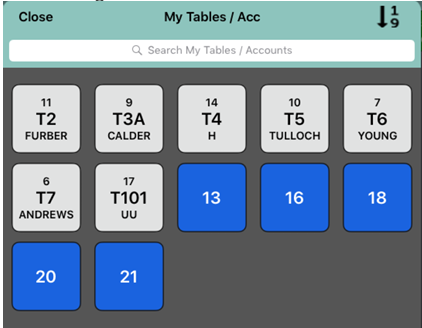
Sort by Tables/Accounts
- Sorting by Tables/Accounts displays tables (in ascending table number order), followed by accounts in ascending order of account number.
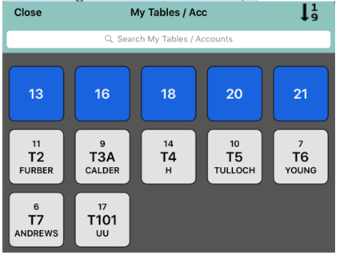
Sort by Accounts/Tables
- Sorting by Accounts/Tables displays accounts in ascending order of account number, followed by tables (in ascending table number order).
Moving an account to a different table
If a customer needs to move to a different table, you can select their account and move it to a new table from within iServe.
Permission to allow users to move accounts to a different table is set in Aztec Staff and Security. If you do not have the appropriate permissions, you will be unable to complete either operation.
You will need to ask a colleague with appropriate permissions to log in and move the customer on your behalf.
To move an account:
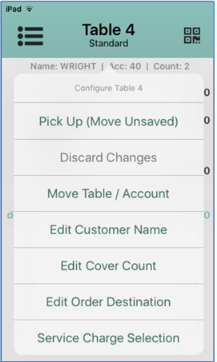
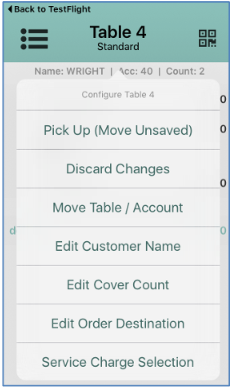
- Tap the table number to display the Configure menu.
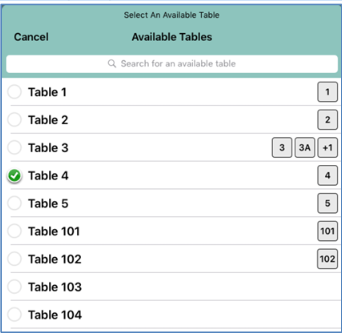
- Select Move Table from the Configure menu. Users are prompted to select the table to which they want to transfer the account.
- Select the required table number.
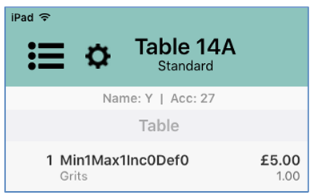
- If you have the correct permissions, the account is transferred to the new table number. If an active account exists on that table, the table number is suffixed with a letter, for example if the account above was moved to table 14 it would become Table 14A for the selected account.

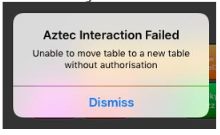
If you do not have permission to move accounts, an error message will be displayed that explains the reason why the move cannot be completed, for example:
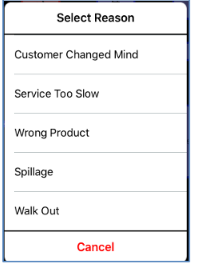
If Capture Move Reasons has been enabled for your site, you will be prompted to select a move reason from the available list.
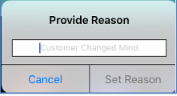
If you select an open reason, you will be prompted to enter the reason in the box provided:
You cannot move an account to a different table if you are offline. If you start to move an account before going offline, iServe will prevent you from completing the move. For more information and screenshots, please refer to Picking up an Offline Account
Changing the active account on the iServe device
To deliver optimal customer service, you can switch between accounts quickly and easily from the Configure menu.
To change the active account:
- Tap the table number to display the Configure menu.
- Select Pick Up (Move Unsent) from the Configure menu. You are prompted to select the table to which they want to change.
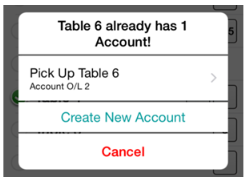
- Select the required table number. If the previously active account has unsaved items, you are prompted to:
- move the unsaved items to the new account (or one of the accounts if there is more than one account on the table)
- open a new account for the unsaved items
- pick up the account on that table (or one of the accounts if there is more than one account on the table)
- create a new account
- If enabled, you will be prompted to select a reason for the table move.
If the previously active account has no unsaved items, you are prompted to:
Account Conflict
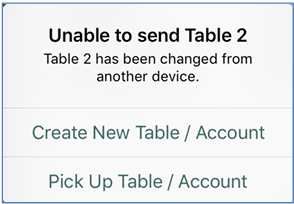
When an account is paid off or altered on the POS while the account is still active in iServe, it causes an account conflict.
If an account conflict occurs on an account with saved and/or unsaved items, when the account is sent, the following prompt is seen:
An account in iServe can have saved items which exist on the account in Aztec and unsaved items which have not yet been sent to Aztec.
Saved items that are paid off by Aztec disappear from iServe.
Unsaved items are handled differently in iServe depending on whether the Always Prompt for table option is enabled in Settings.
If items have been rung up in iServe and saved, then additional items are subsequently added in iServe (but not saved), if the account is paid off on the POS:
- With Always Prompt for Table disabled in iServe, unsaved items in iServe are dropped into a new bar account. These items can then be reassigned to a table by the user if required.
- With Always Prompt for Table enabled in iServe: Users are prompted to add the unsaved items to a new table.
If you then choose to pick up an existing table from the Prompt for Table screen (rather than a new table), the unsaved items are added to the existing table selected.
Delayed Orders
A user can view, pick up and edit a delayed order, change the time the delayed order is picked up and choose to send it the kitchen (prepare now).
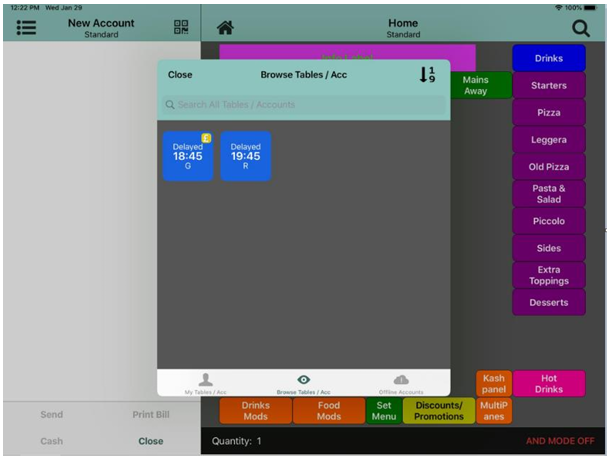
To pick up a delayed order account:
- Select Pick up Table / Account from the Navigator screen or from the screen prompt. The My Tables / Acc window is displayed.
- Select the required delayed order account from the list.
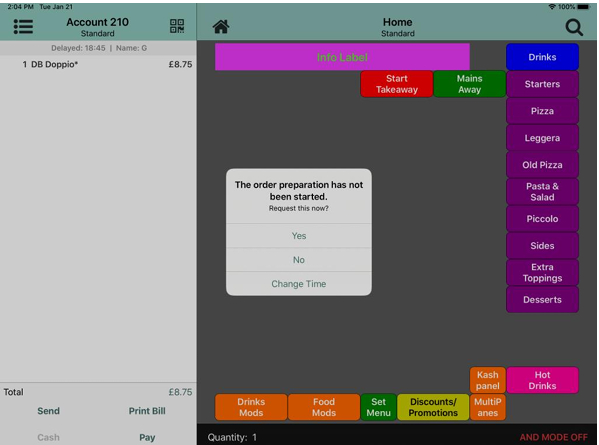
- If a delayed account has yet to be printed (sent to the kitchen for preparation) the user will be presented with a dialogue with options to change time or prepare now.

Modifying a Delayed Order
In order to modify a delayed order, select No within the ‘The order preparation has not been started. Request this now’ dialogue.
A user can only edit products that are labelled with a **. Once they have one * (or none) they cannot be modified.
Change Time A Delayed Order is Picked Up
To change the time a Delayed Order is picked up/served to the customer, select Change Time within the ‘The order preparation has not been started. Request this now? dialogue that appears.
The user will be presented with an Enter Pickup Time dialogue, which is in 12-hour format.
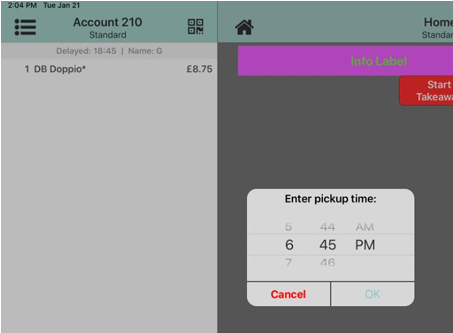
Set the new time and select OK
If the user sets the time more than 8 hours in advance and selects OK they will be presented with a warning message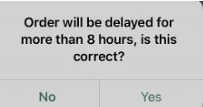
Assign a Delayed Order to a Table and Hold the Order
A user can pick up a delayed order and assign it to a table. Once the delayed order has been added to the table the user will have the flexibility to add additional order lines to the account and send those items to the bar/kitchen/dispense point whilst holding the orderlines that were previously delayed and held.
When the customer arrives, a user selects the delayed order and adds it to a table. The user can then:
- Save the account, without making changes and send it to x* if the party is ready to eat.
-
Save the account, without making changes and not send it to x* if the party is not ready to eat.
-
Edit the account, saving the changes and not send it to x* if the party is not ready to eat.
-
Edit the account, saving the changes and send it to x* if the party is ready to eat.
*x is the dispense point of an order and can be kitchen, bar etc.
Assigning a Delayed Order Account to a Table
To assign a table to a delayed order account or change the assigned table:
- Select the table number in the header.
- Select Assign Table Number.
- Select the required table number. The account is now assigned to the selected table.
- The action of adding a delayed order to a table changes it from a delayed order account to a normal account
Hold an Order Assigned to a Table
A table order can be held if it was created on a delayed order account or its parent was created on a delayed order account, and that has yet to be sent to (bar/kitchen/dispense point).
Picking up a Held Order
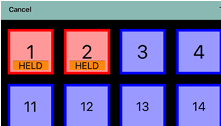
When viewing the list of available tables, tables which contain a Held Order will be highlighted in orange with a description of HELD beneath:
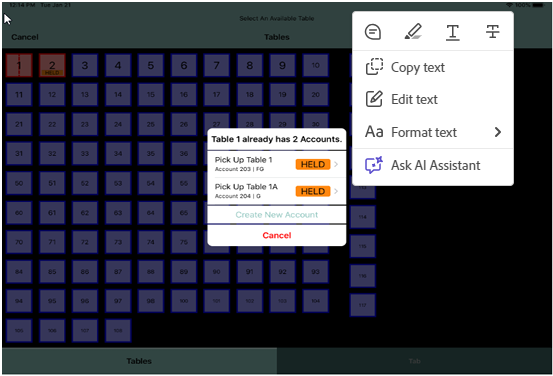
When a user selects a table with Held Order lines, a dialogue will be presented indicating the table has Held Order lines
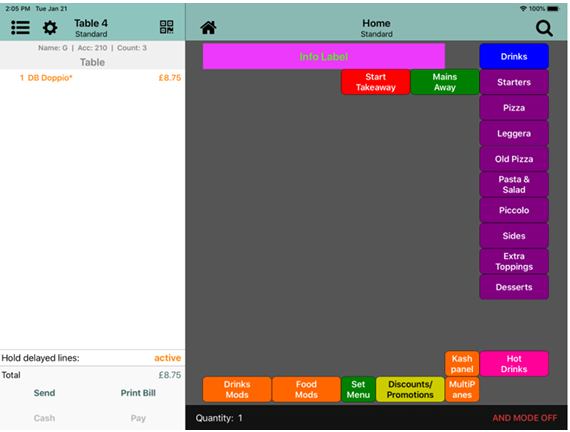
Held order lines will be displayed in orange text within the order display and Hold delayed lines will be active.
Sending a held order to (bar/kitchen/dispense point).
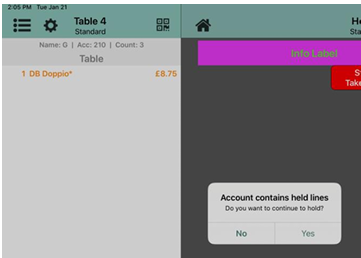
When a user sends an account with Held Order lines, they will be presented with a dialogue advising the account contains held lines and asked if they want to continue to hold.

If the user selects No, all order lines will be sent to the bar/kitchen/dispense point. If the user selects Yes Held Order lines will not be sent.